This week I want to focus on some useful tips you can use in the kitchen! I think everyone who cooks has developed some tricks that either save time or improve flavor. Today I will share some of mine and I hope if you have any you will share them with everyone in the comment section on Facebook. Or email me and I will post them.
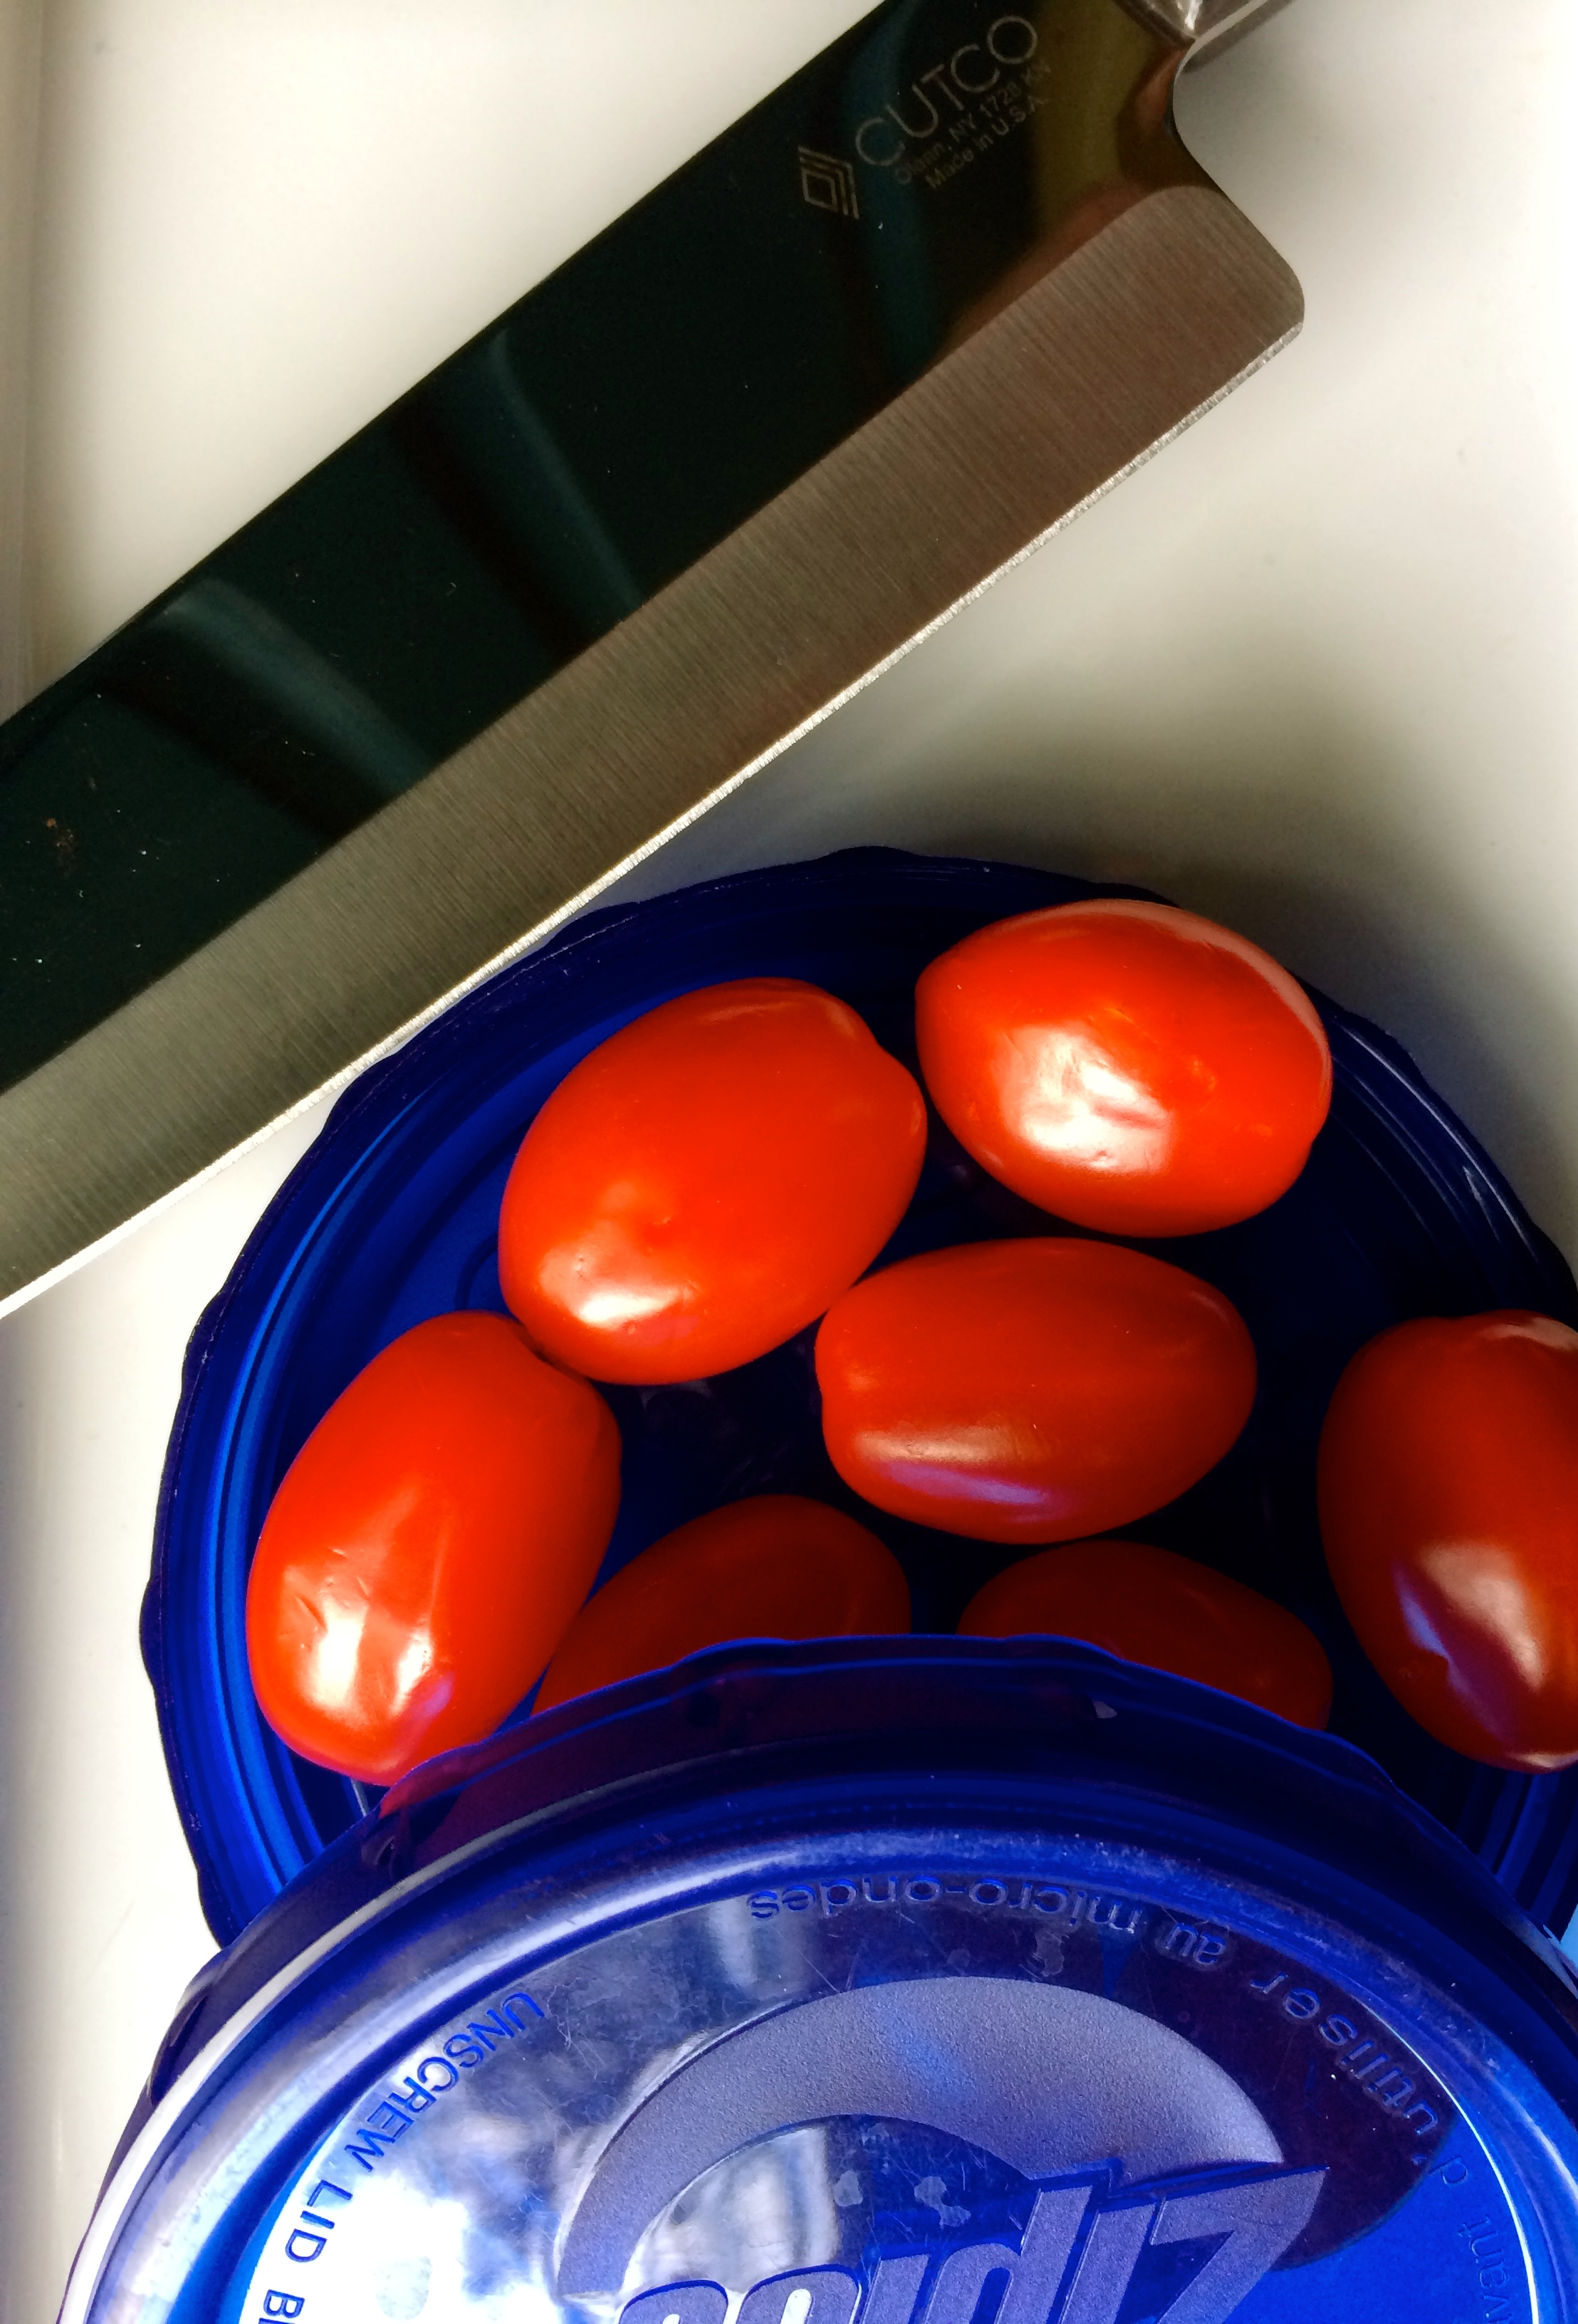
My first one is how to dice an onion quickly and efficiently. First I would encourage you to purchase the best set of knives you can comfortably afford. By set I do not mean one of those pre-filled butcher blocks. I have four Cutco knives and they are sufficient for any task I need. I am not recommending Cutco, they just work for me. You should go to Williams and Sonoma or another store that will let you try a knife to see if it is comfortable in your hand and easy to use. My set consists of a chef’s knife, a paring knife and two serrated knives, one long one for bread the other shorter for tomatoes and citrus. A sharp knife is essential, not only because it is safer, but it will make chopping much easier, so invest in a steel and learn how to keep the blades in alignment. Now to the onion! Here is a link to watch Gordon Ramsay actually chop an onion. Number one, you should cut off the stem and then peel the papery skin off. DO NOT cut off the root. Next, chop the onion in half, through the root. Lay flat side of onion on your chopping board, holding the root with your non-knife hand. Holding your knife so the tip points towards the root, slice the onion down to the cutting board moving from left to right (or opposite if you are a leftie!). The more slices the finer the dice. Then, hold the onion together and turn your knife so it is parallel to the board. Slice towards the root, without going all the way through, two or three times moving from top to bottom. Lastly, hold knife parallel to root and slice down, moving towards root. Voila! Diced onion!
Here are some others:
 rain the pasta. If you are worried about sticky pasta, add the oil AFTER you strain the cooked noodles. But really, if you just add the pasta right to the pot with whatever sauce you have made, it should be fine.
Now it is your turn! Let me know your tricks!
This week’s recipe is perfect for a taking to picnics or get togethers. You can use whatever fruit is in season. I have made them with blueberries, apples and strawberries. I have not used gluten free flour to make them, but I would imagine it would be fine. As I always say when posting a recipe for desserts, enjoy in moderation!
Fruit Tartlets
adapted from Whole Foods
Ingredients:
6 tablespoons cold, unsalted butter, cut into small cubes
1 1/4 cup 100% whole wheat pastry flour, plus more for rolling dough
1/3 cup light brown sugar + 1 tablespoon, divided
1/2 teaspoon fine sea salt
1/2 cup plus 2 tablespoons low fat sour cream or plain, Greek yogurt, divided
2 eggs
8 large fresh strawberries, quartered, or 1/2 cup blueberries, or 2 pitted plums, apples, peaches or nectarines, thinly sliced
1/2 teaspoon ground nutmeg
Directions:
Preheat oven to 375°F. Spray 8 cups in a standard muffin tin or use liners; set aside. In a food processor, combine flour, 1 tablespoon sugar and salt. Add butter and pulse until mixture resembles coarse meal. Add 2 tablespoons sour cream (or yogurt) and 2 1/2 tablespoons ice-cold water and pulse just until mixture starts to come together. On a floured surface, roll out dough into an 8x16 inch rectangle and cut into 8 (4-inch) circles. Line muffin cups with dough, pressing dough up the sides of the cups and pressing together any tears.
In a medium bowl, whisk together 1/3 cup brown sugar, remaining 1/2 cup sour cream (or yogurt) and eggs; divide between 8 muffin cups. Arrange fruit in custard (some will stick out). Sprinkle with nutmeg. Bake until pastry is golden brown and fruit is tender, about 45 minutes. Run a knife around the edge of each tart to loosen them; immediately transfer to a wire rack to cool slightly. Serve warm or at room temperature.
Enjoy!